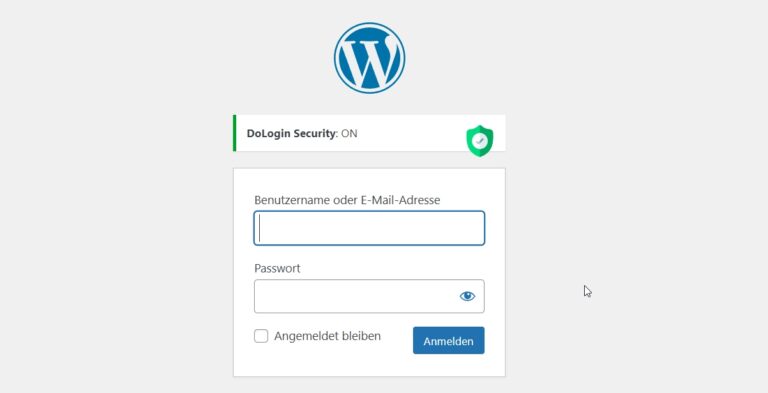
If you have problems with spam submissions on WordPress, this guide is for you. I will explain how to set up, for example, only 2 login attempts has.
Spam logins and brute force attacks are some of the most common problems WordPress users face. If you want to make sure that unauthorized users cannot try to log into your WordPress dashboard an infinite number of times, limiting login attempts is an effective measure. In this guide, I'll show you how to set up this feature in just a few steps.
Table of contents
Why limit login attempts?
Advantages
- protection against brute-force attacks: Hacker tools often test thousands of combinations of usernames and passwords.
- Reduced server consumption: Repeated login attempts can put a strain on your server.
- Additional security layer: In addition to strong passwords and 2FA, this method offers additional protection.
Step 1: Install the plugin
The easiest way to limit login attempts in WordPress is to use a plugin. Two of the most popular options are:
- Limit Login Attempts Reloaded
- WP Cerber Security
- DoLogin Security (Best choice if you are looking for a free solution)
Install plugin (see above)
- Log in to your WordPress dashboard.
- Go to Plugins → To install.
- Search for “Limit Login Attempts Reloaded” or another such as "DoLogin Security".
- Click on Install now and then on Activate.
Step 2: Configure settings
After installation, you can adjust the plugin settings:
- Navigate to Settings → Limit Login Attempts.
- Set the following parameters:
- Maximum login attempts: Set this to 2 (or any other number of your choice).
- blocking period: For example, select 15 minutes.
- blocking time for repeated failed attempts: Increase the time period if multiple attempts fail (e.g. 1 hour).
- Optional settings:
- Enable email notifications about blocked IPs.
- View logs for failed login attempts.
Example screenshot: Settings for Limit Login Attempts Reloaded
Step 3: Additional security measures (optional)
If you want to further increase security, I recommend these additional measures.
1. two-factor authentication (2FA)
- Use a plugin like Google Authenticator or Wordfenceto set up 2FA for your login.
Screenshot: Example of 2FA setup with Google Authenticator
2. Add CAPTCHA
- With plugins like reCaptcha by BestWebSoft or Simple Cloudflare Turnstile (I use) you can activate a CAPTCHA for the login form.
3. Strengthen username and password
- Make sure that you do not use default usernames such as “admin“, use a unique username.
- Use a strong password with at least 12 characters, consisting of letters, numbers and special characters.
Step 4: Testing
Finally, test the new settings:
- Intentionally log in with false information to ensure that the limit works correctly.
- Check if you are blocked after 2 failed attempts (or the number you set).
Conclusion
By limiting WordPress login attempts, you can effectively protect your website from brute force attacks and spam logins. By combining plugins like Limit Login Attempts Reloaded and additional security measures, you create a secure foundation for your WordPress site.
If you have any further questions or need support, leave a comment or contact me directly! 😊


